Well, like (hopefully) all of you, I spent the weekend at home, enjoying the epic sunshine and warm weather.
I spent two glorious days organizing the shed, raking up the never-ending pine needles, going for lengthy walks around the property (visiting with the lambs of course), and starting some early seeds for my garden.
According to the Farmers Almanac, it’s a bit early yet to start seeds in our area. Luckily, I have the luxury of a warm sunroom and some plant lights to keep my little seed babies happy. With all that’s going on, now is a pretty good time to get a head start on the garden if you ask me.
I’m very much looking forward to this year’s garden. As scary and stressful as things are right now, it’s important to focus on the good. It’s important to have hope. I’ll share this quote with you which I recently stumbled upon.
“Hope and fear cannot occupy the same space at the same time. Invite one to stay.” - Maya Angelou
It felt so nice to play in the dirt this past weekend. It felt so nice to be in a t-shirt at 2 p.m. I very much enjoyed spending a sunny morning sipping on coffee, listening to a great playlist, and doing something I love. Doing something so rewarding. It was so nice to feel accomplished and know that in just a few weeks time I will have an abundance of plants to tend to.
I decided to focus on more hardy crops that fare well in cooler temperatures including certain varieties of kale, spinach and lettuce. According to the Farmer’s Almanac, crops like broccoli, brussels sprouts, cabbage, collards, english peas, leeks, kohlrabi, mustard greens, radishes and turnips also do well in the spring and fall.
I created an alphabetical chart that I can follow, which details when to start my seeds indoors, when to transplant and when to sew directly into the ground. Certain crops prefer to be sewn directly in the ground because their roots are too delicate to transplant. Spinach most definitely has a hard time being transplanted, however I was successful in transplanting about 15 spinach plants last summer.
It’s all about trial and error. Growing involves a lot of experimentation. I know this first hand, I have a lot to learn. I am not an expert by any means. At the end of the day success in the garden all depends on so many different elements. What worked last year may not work this year, and what worked in the spring may not hold true in the fall. One key to success, however, is having healthy and happy soil. Literally start from the ground up.
I’ll share with you my process for starting crops from seed. It is such an enjoyable activity and one of the most rewarding (and challenging) experiences. I feel so proud when my plate consists of a colourful meal, all grown right in my own backyard.
Without further adieu, here’s my process for starting my garden from seeds.
You Will Need:
- good quality potting soil
- wheel barrow or similar
- seed trays (ones made of peat or other organic material make transplanting a breeze)
- seeds of your choosing
- watering can
- labels
- a sunny, warm spot for the plant babies to grow
Method:
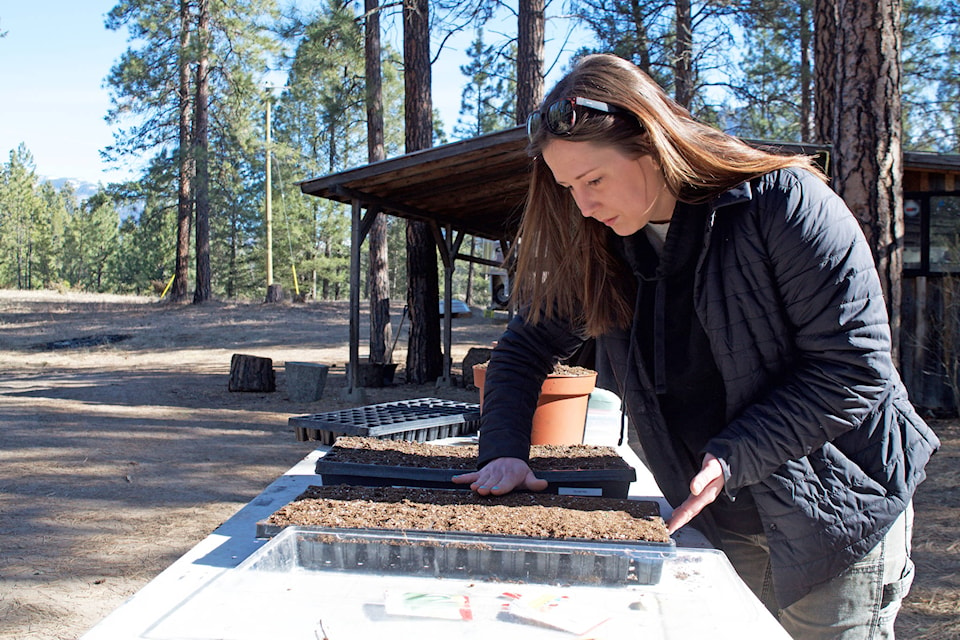
1. Gather all of your materials in one place. I like to set up a table outside in the sun.
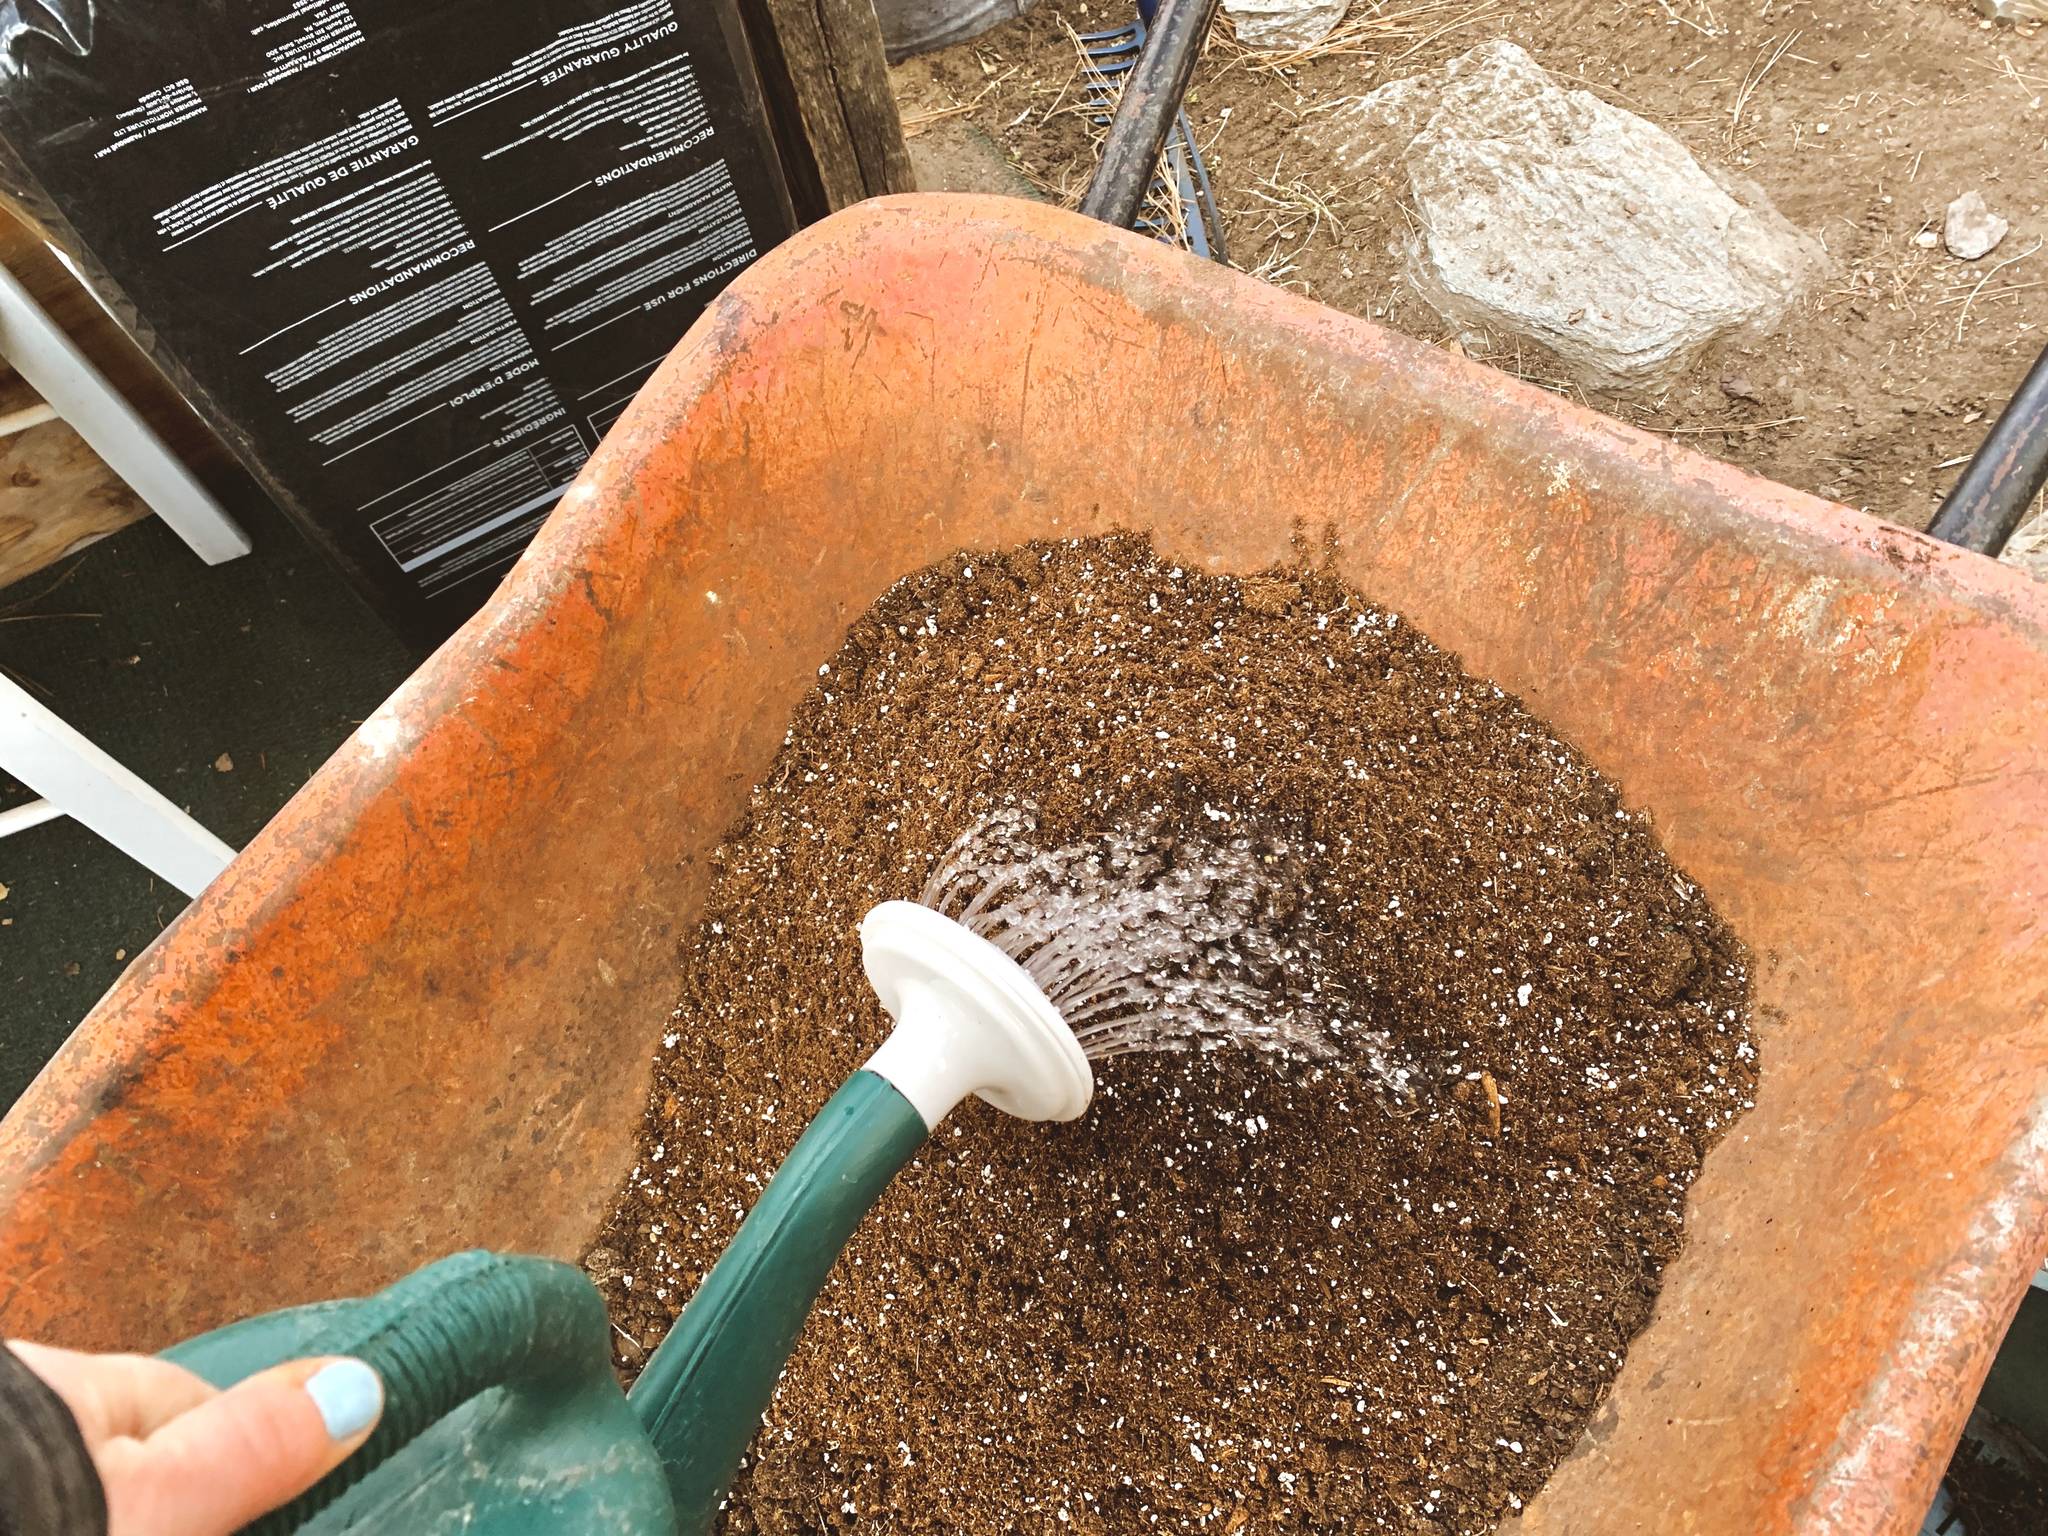
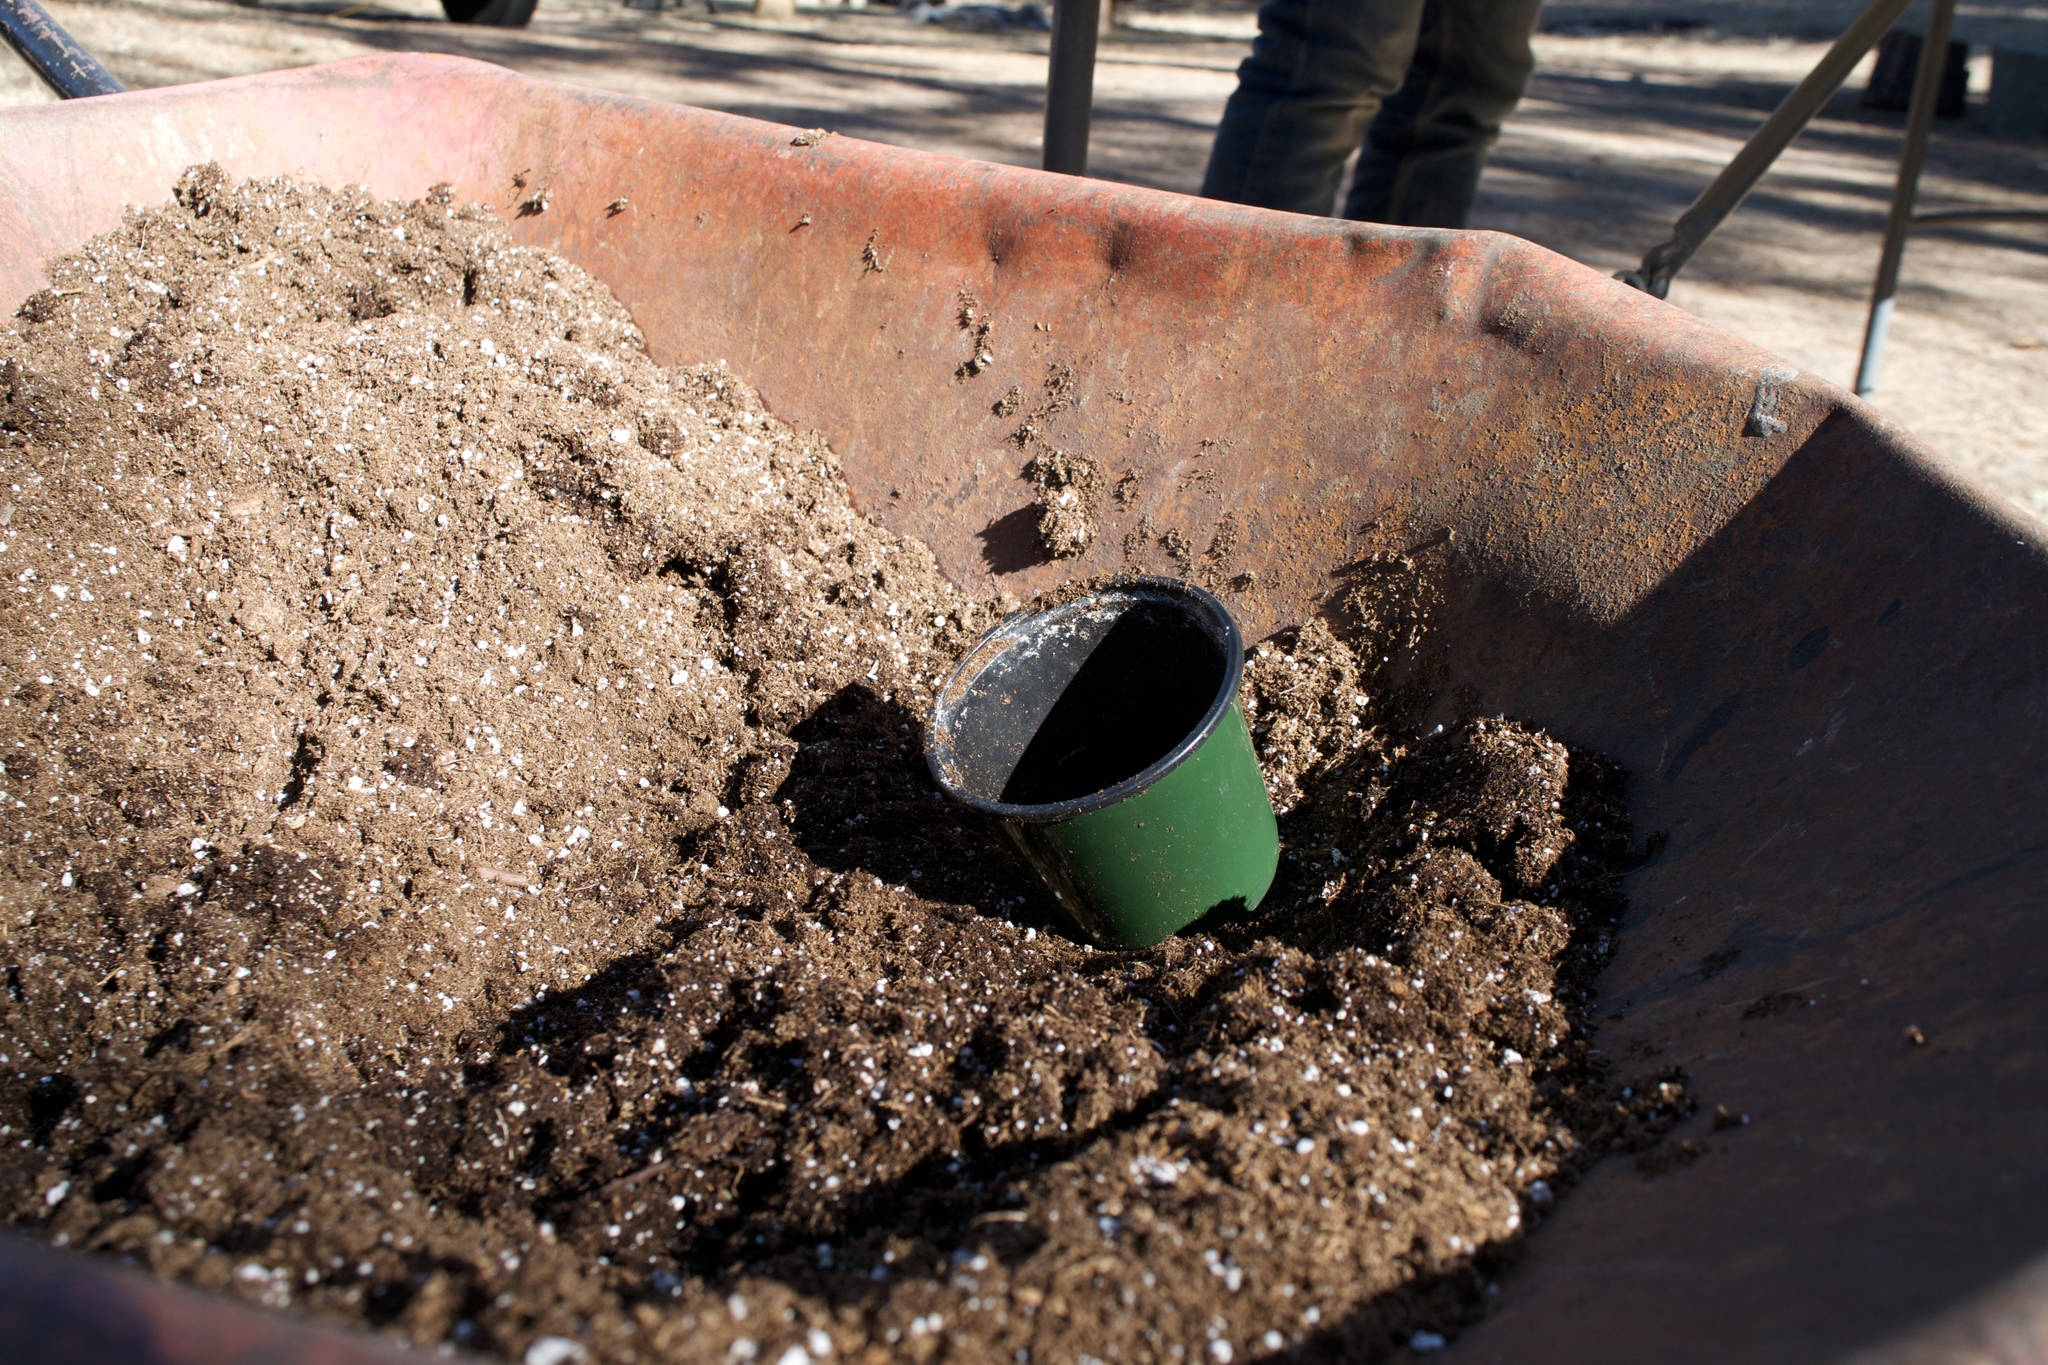
2. Moisten your soil until it’s damp, but not soaking wet. I pour my soil into a wheelbarrow and wet it in there.
3. Fill the trays with soil, ensuring that the soil settled and there are no major air pockets.
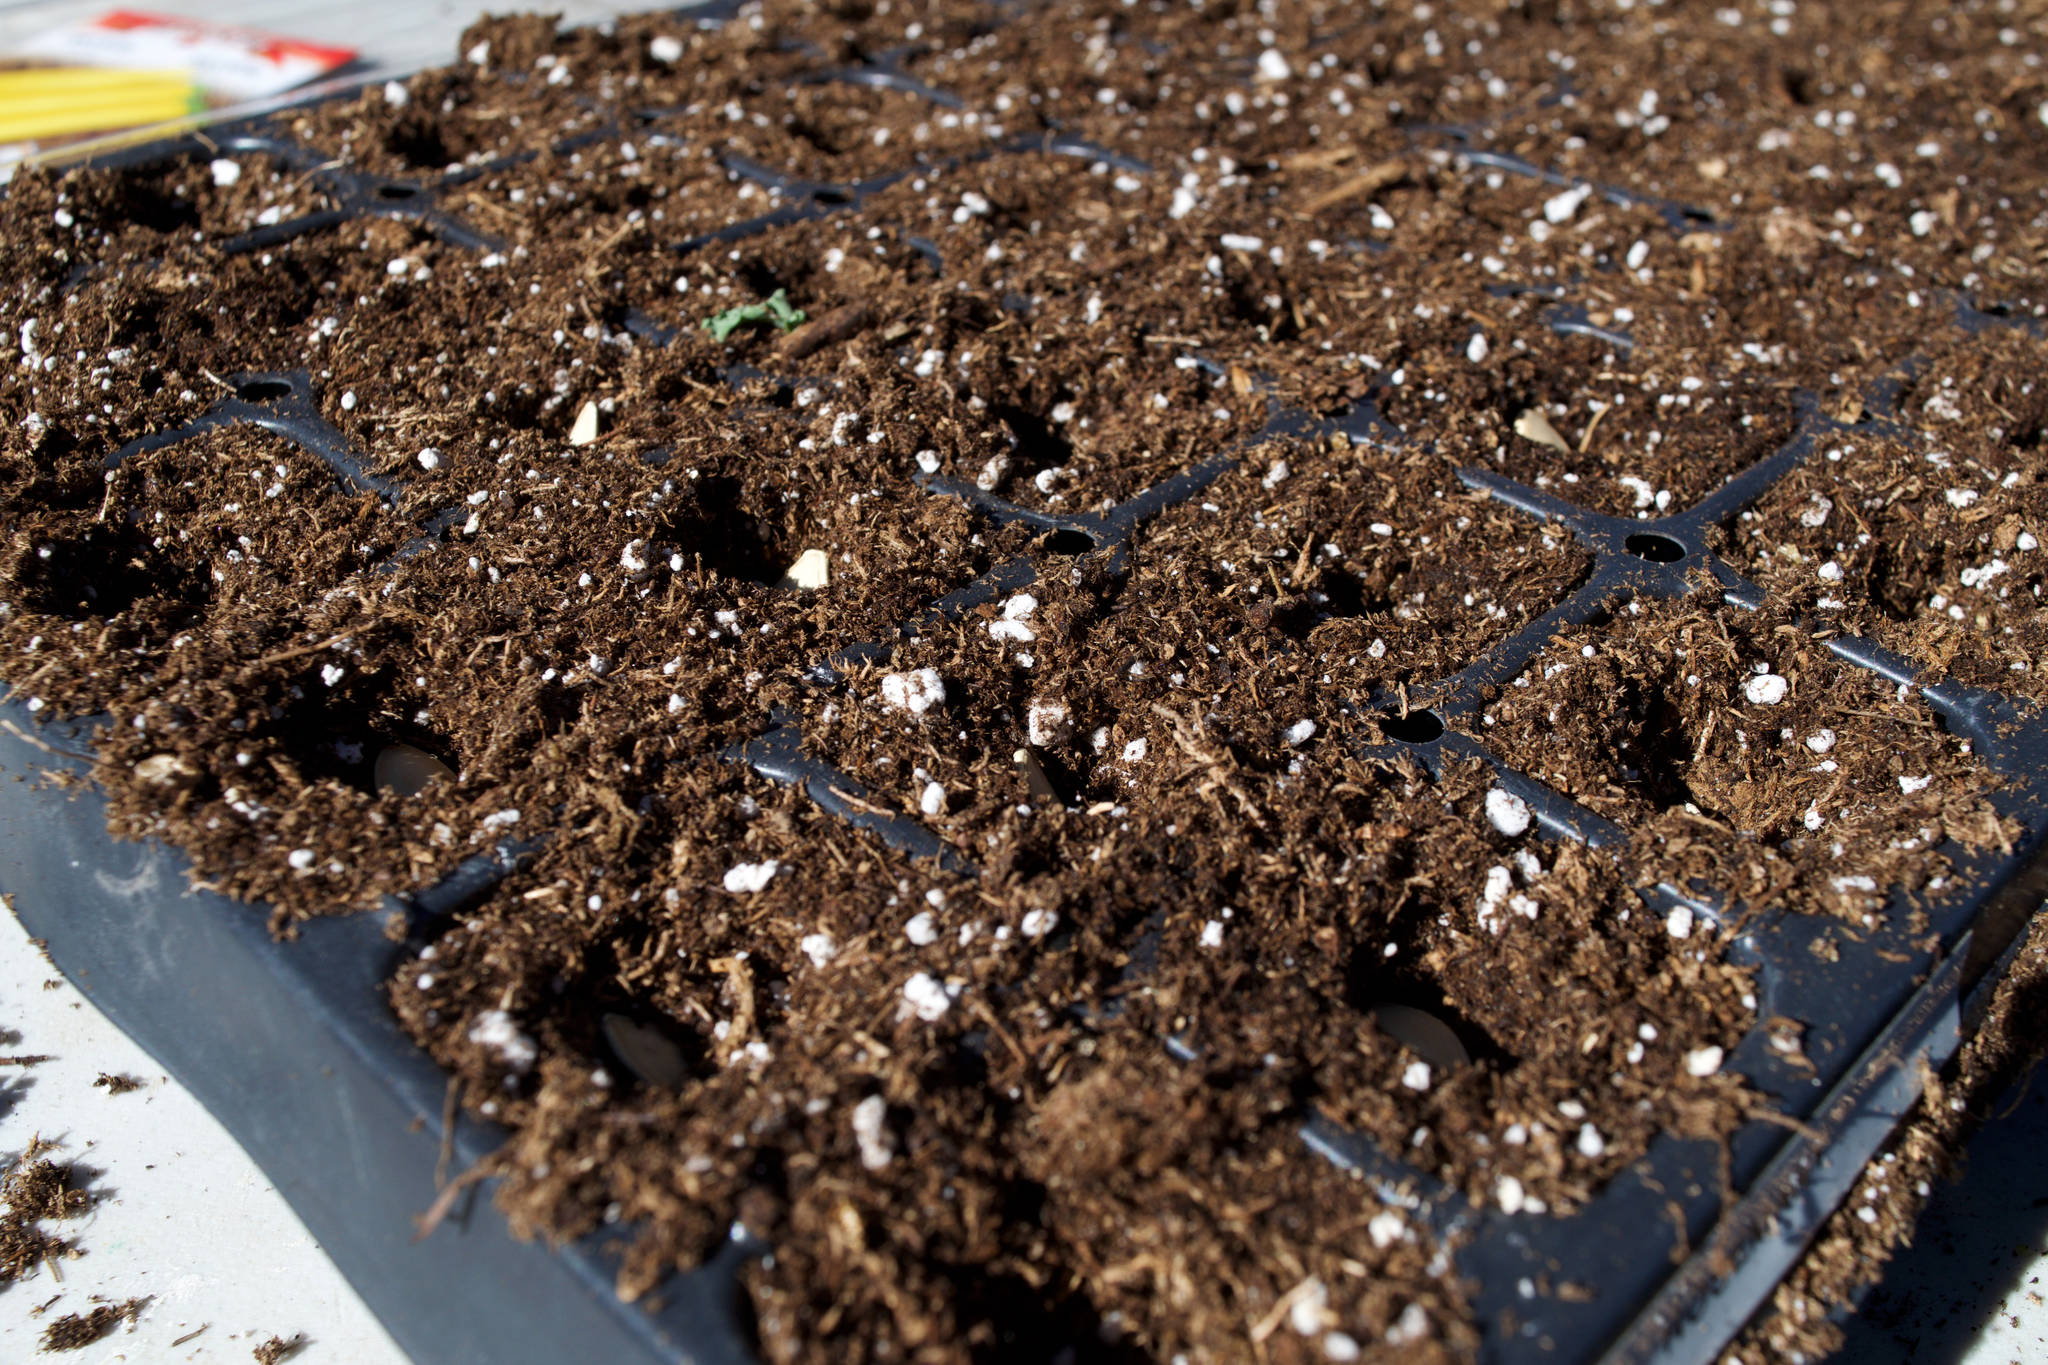
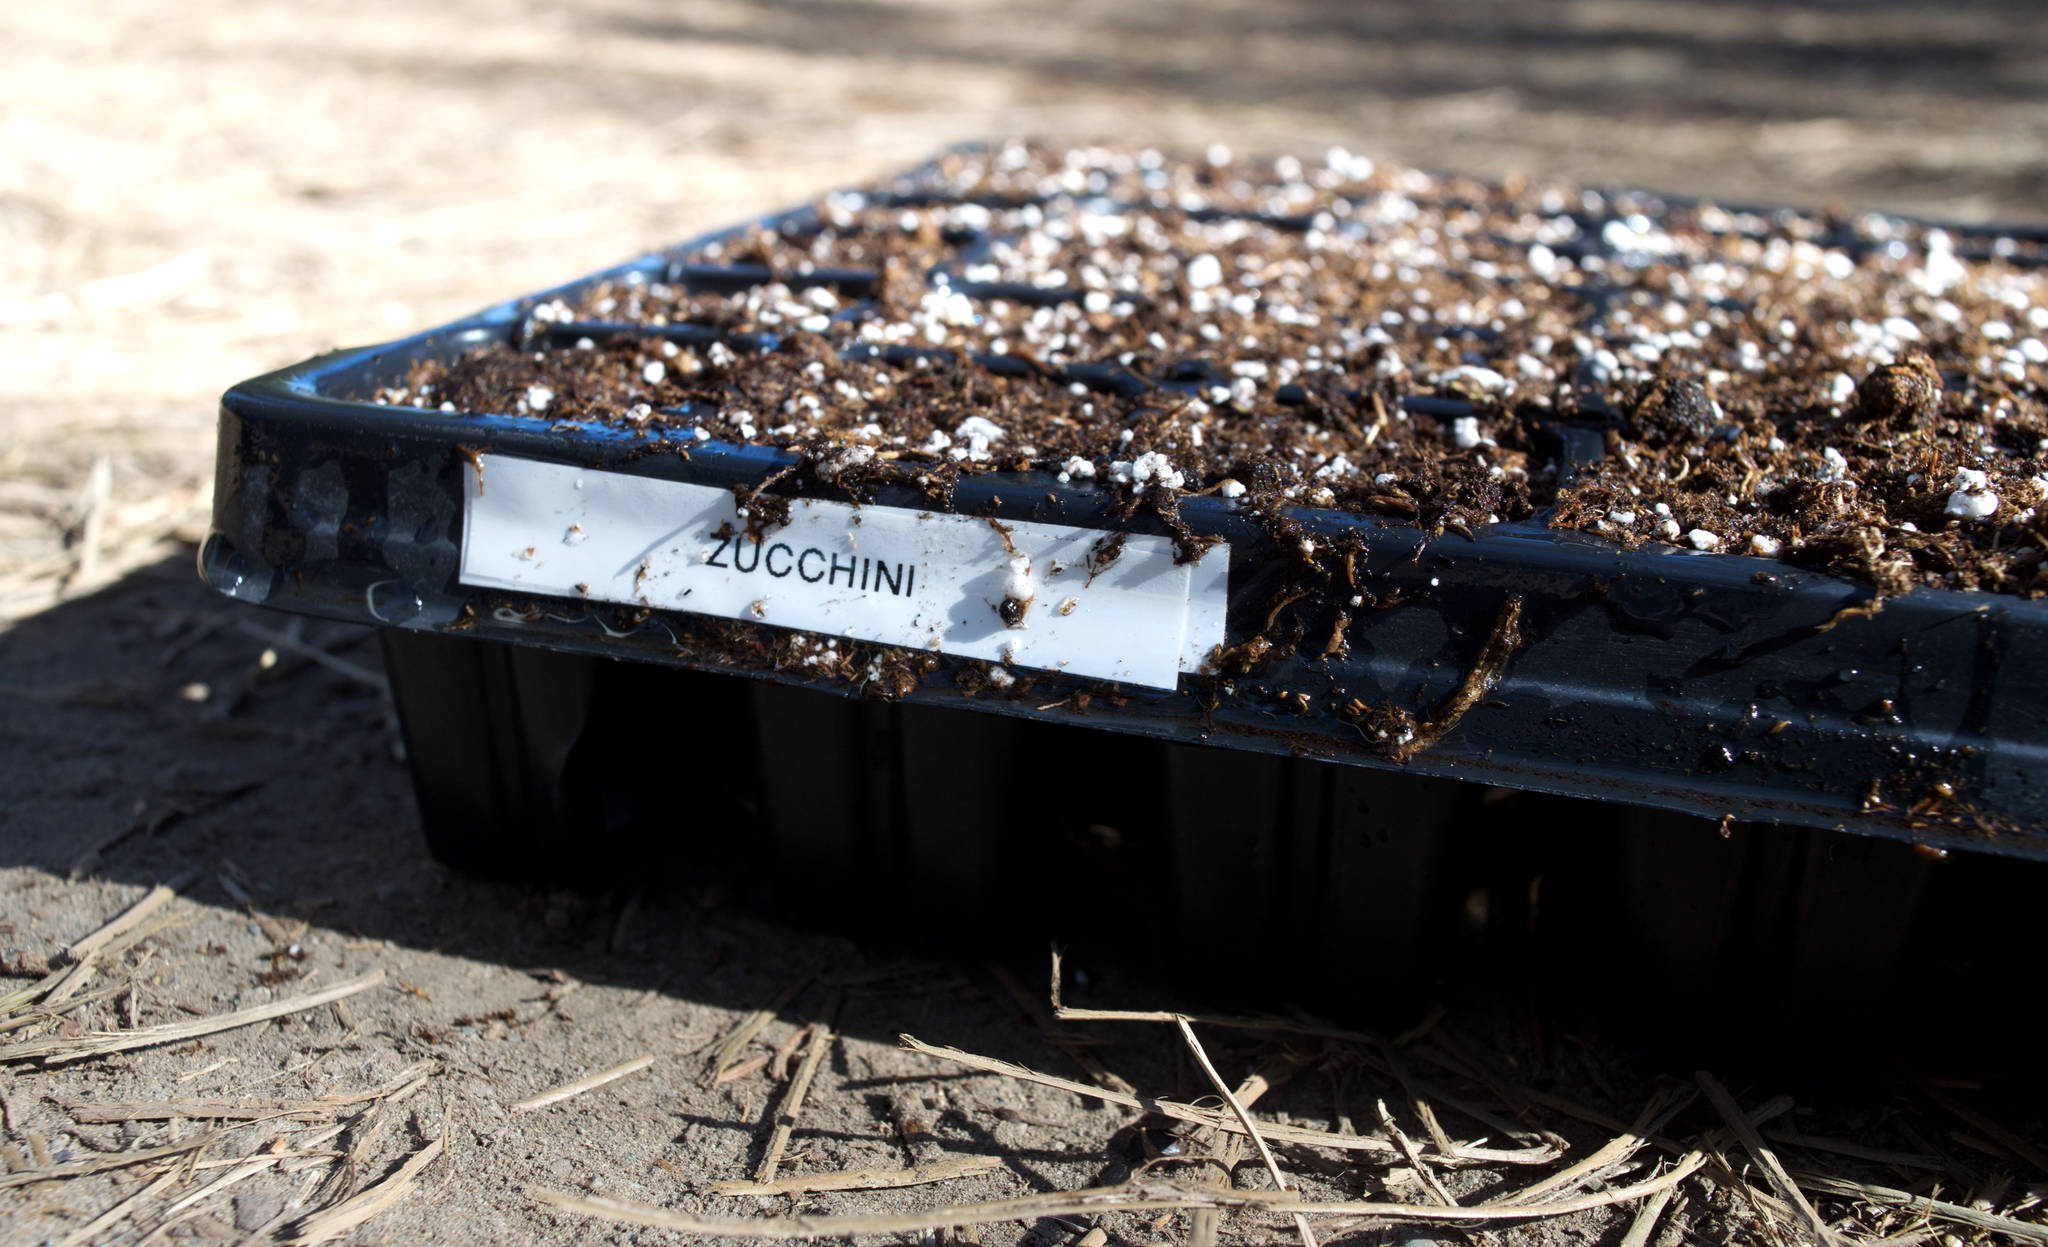
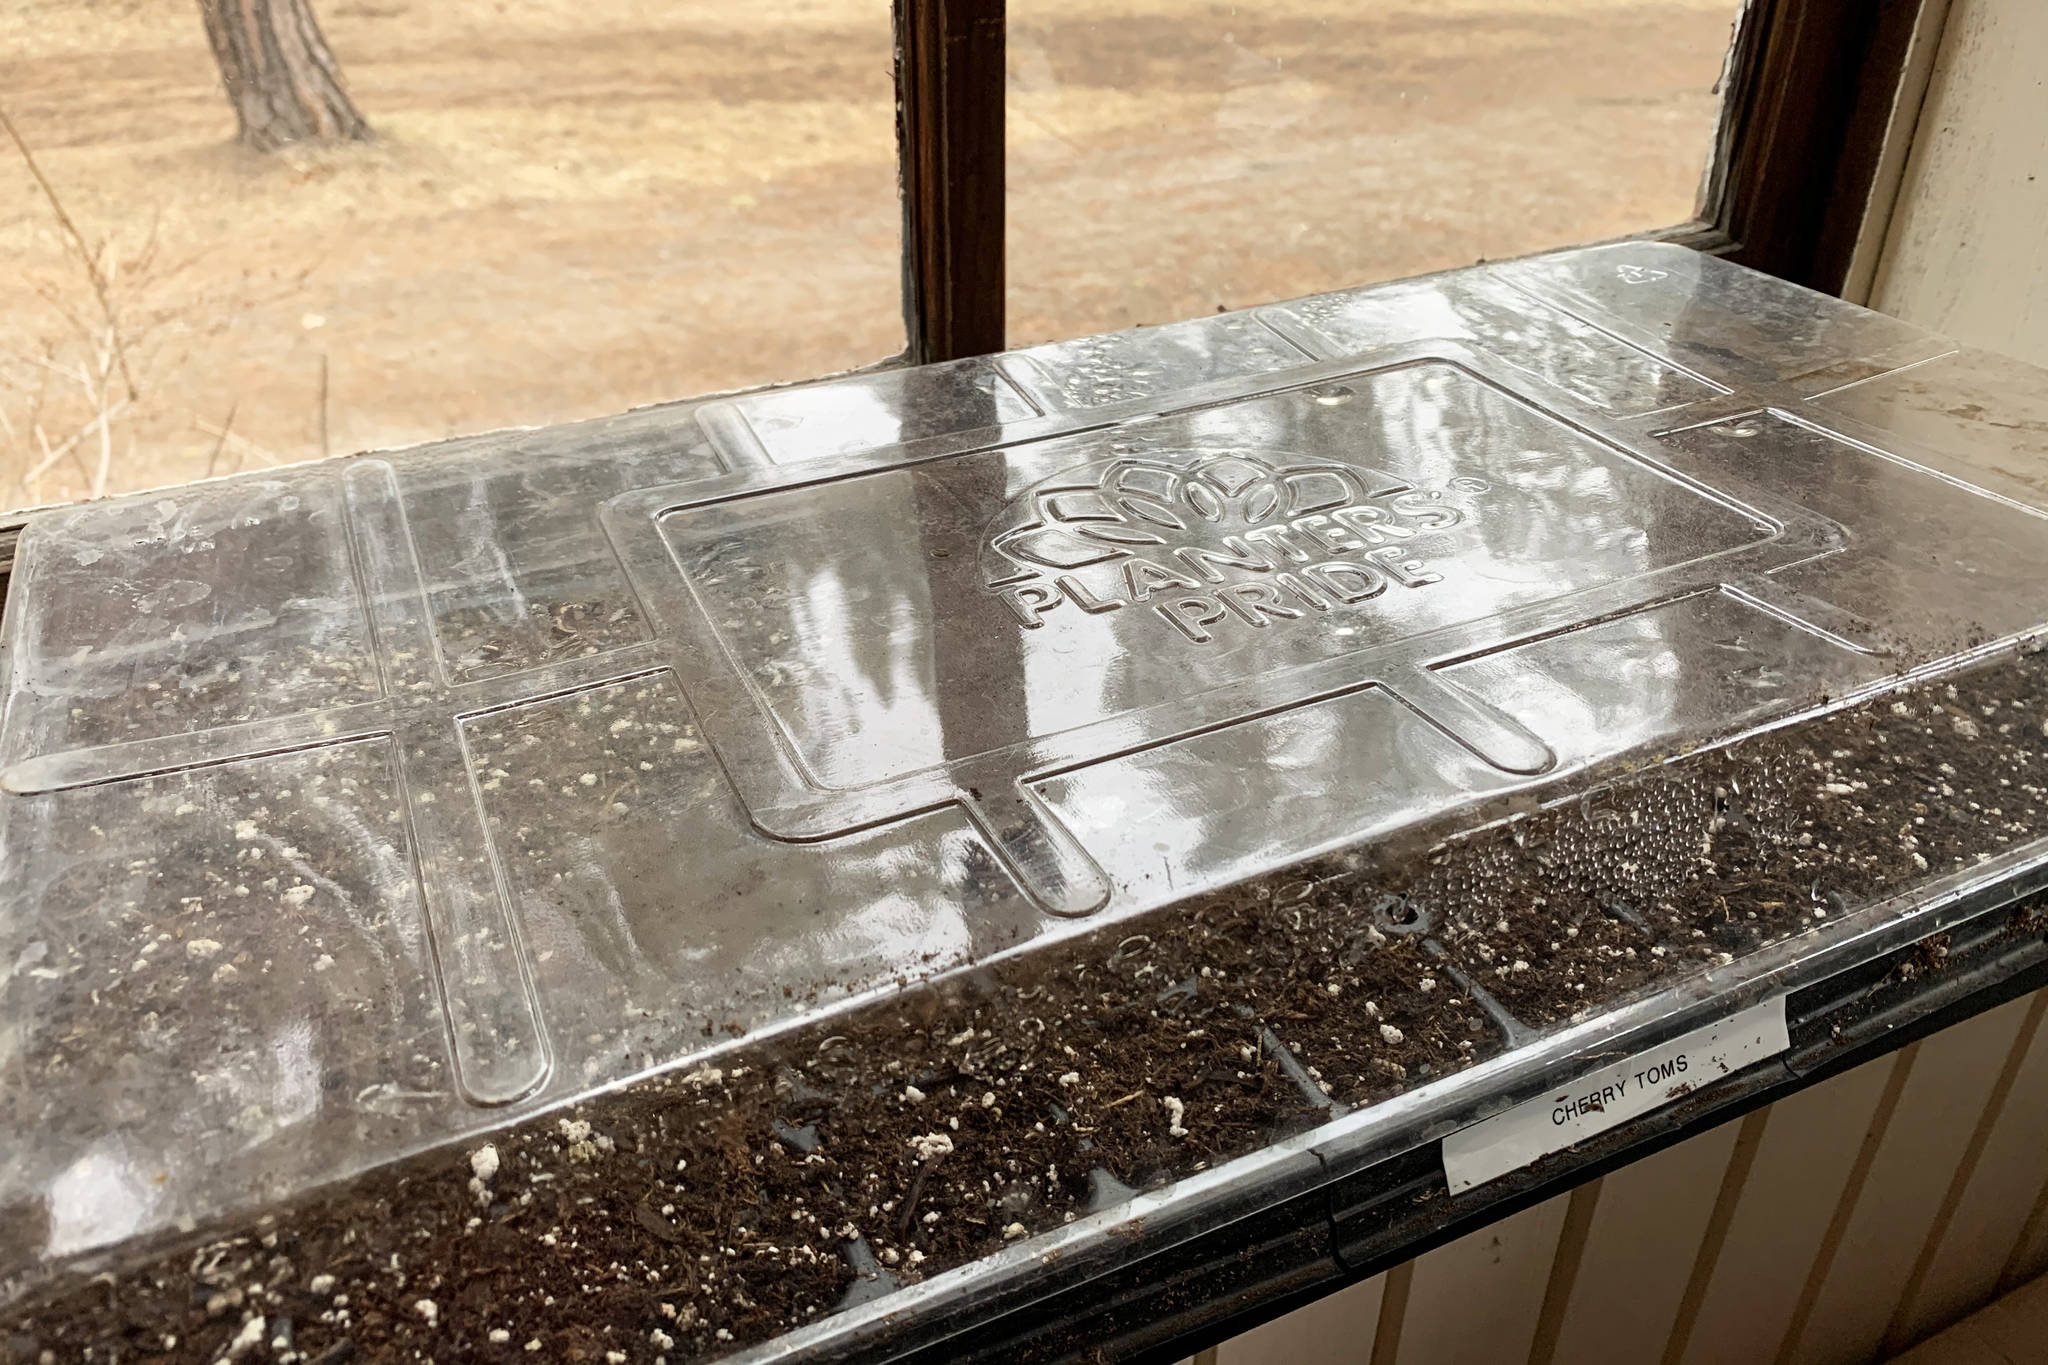
4. Label. Your Trays. Include the date if you’ll be sewing again later on.
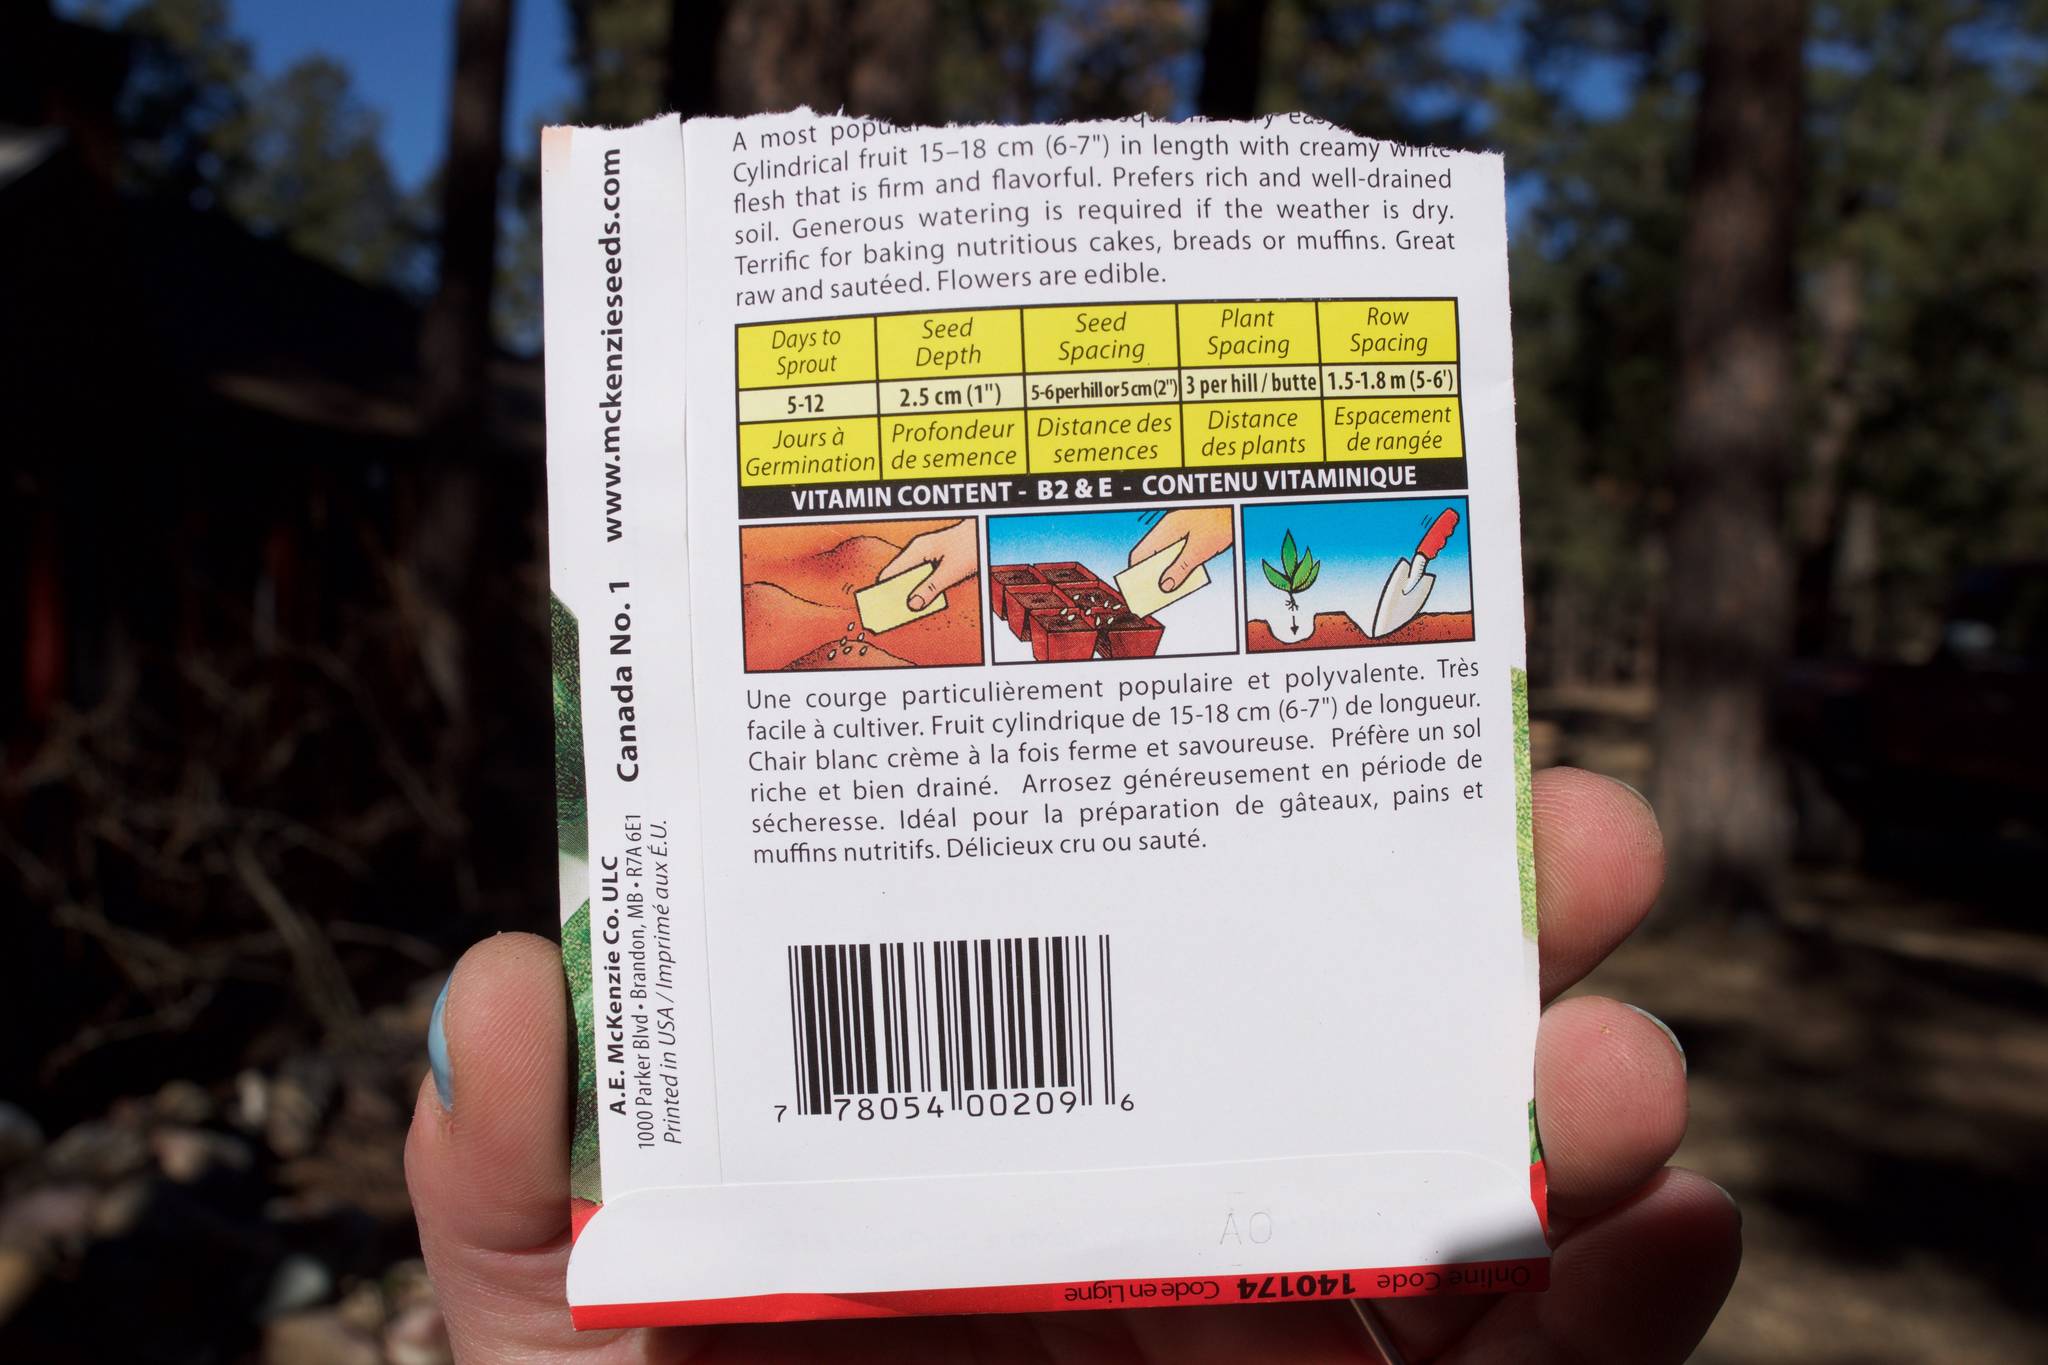
5. Make holes in each individual cell using your pinky finger or a pencil. Read the back of the seed package to see how deep the holes need to be with each type of seed.
6. Place the seeds into the holes. Some seeds call for more than one seed per hole, while others just take one. Once your tray is full, fill in the holes and ensure all seeds are covered. Be gentle during this process.
7. Give your plant babies a water and transfer them to a warm, sunny spot. Ideally, cover them with a plastic dome. Be sure to check them daily and water as the soil becomes dry.
8. Once the seeds have sprouted, you can remove the plastic dome and either move the plants to a greenhouse, or place them under a fluorescent light.
9. When the seed babies outgrow their trays, either transplant them to a bigger pot or directly outdoors (if weather permits). Note, some of my seeds I’ve sewn directly into planter boxes, specifically my kale, spinach and lettuce.